The query editor is where you write and run SQL. It uses CodeMirror, with schema-aware autocomplete, a SQL formatter, and multi-statement support. This chapter walks through writing, running, and formatting a query, plus the result grid's filter and column controls.
Contents
1. Opening a query tab
Click New query in the toolbar, or right-click a schema/database and choose New Query (see Chapter 3). A new tab opens with an empty SQL editor.
The editor toolbar has these buttons: Load SQL, Run, Format, Favorites, AI, followed by a connection picker and, for PostgreSQL, a combined database/schema picker.
2. Autocomplete while typing
As you type, JiveDB suggests table names, column names, and keywords based on your actual connected database — not just generic SQL keywords.
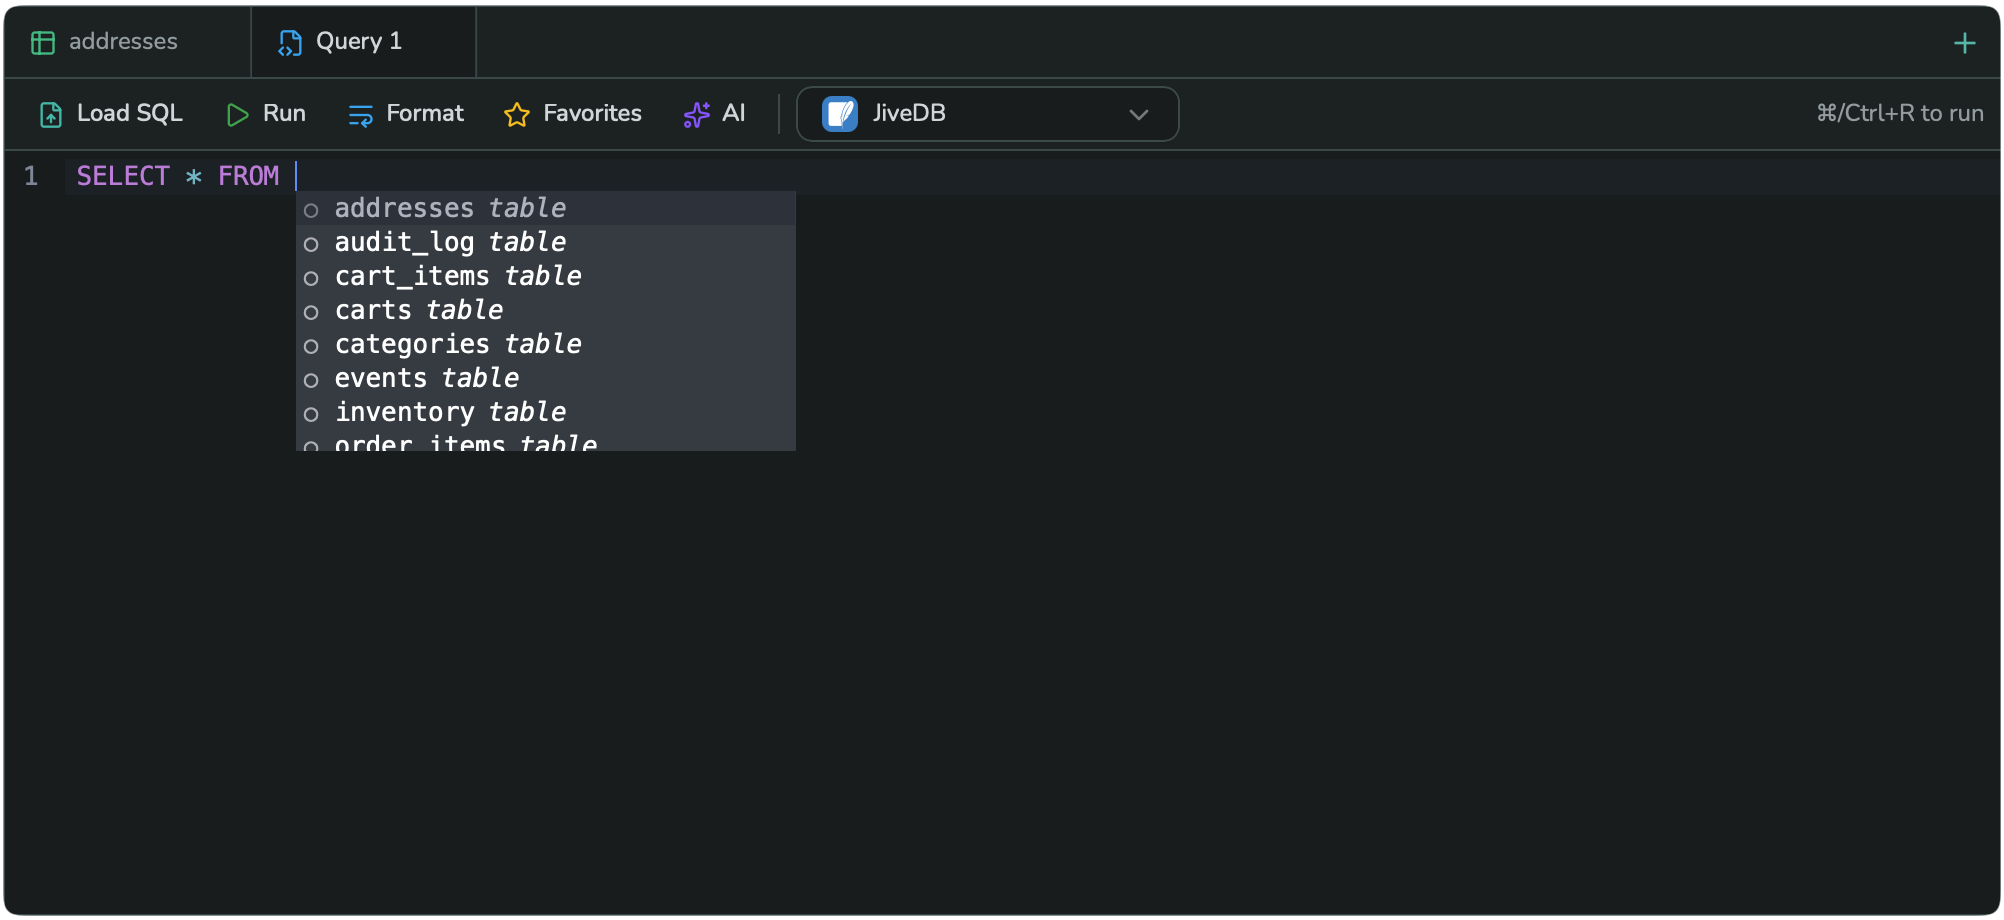
FROM.- Suggestions appear automatically after typing a
., after a few letters of a name, or after a space following clause keywords likeSELECT,FROM,WHERE,JOIN,ON,BY. - To open suggestions manually, press Ctrl+Space.
- To accept the highlighted suggestion, press Tab.
3. Running a query
- Type your SQL. You can put more than one statement in the same editor, separated by semicolons.
- Press ⌘/Ctrl+R, or click Run in the toolbar.
- If you have selected some text, JiveDB runs exactly that selection.
- If nothing is selected, JiveDB finds the statement your cursor is inside of, highlights it, and runs only that one statement.
- The result appears as a table below the editor.
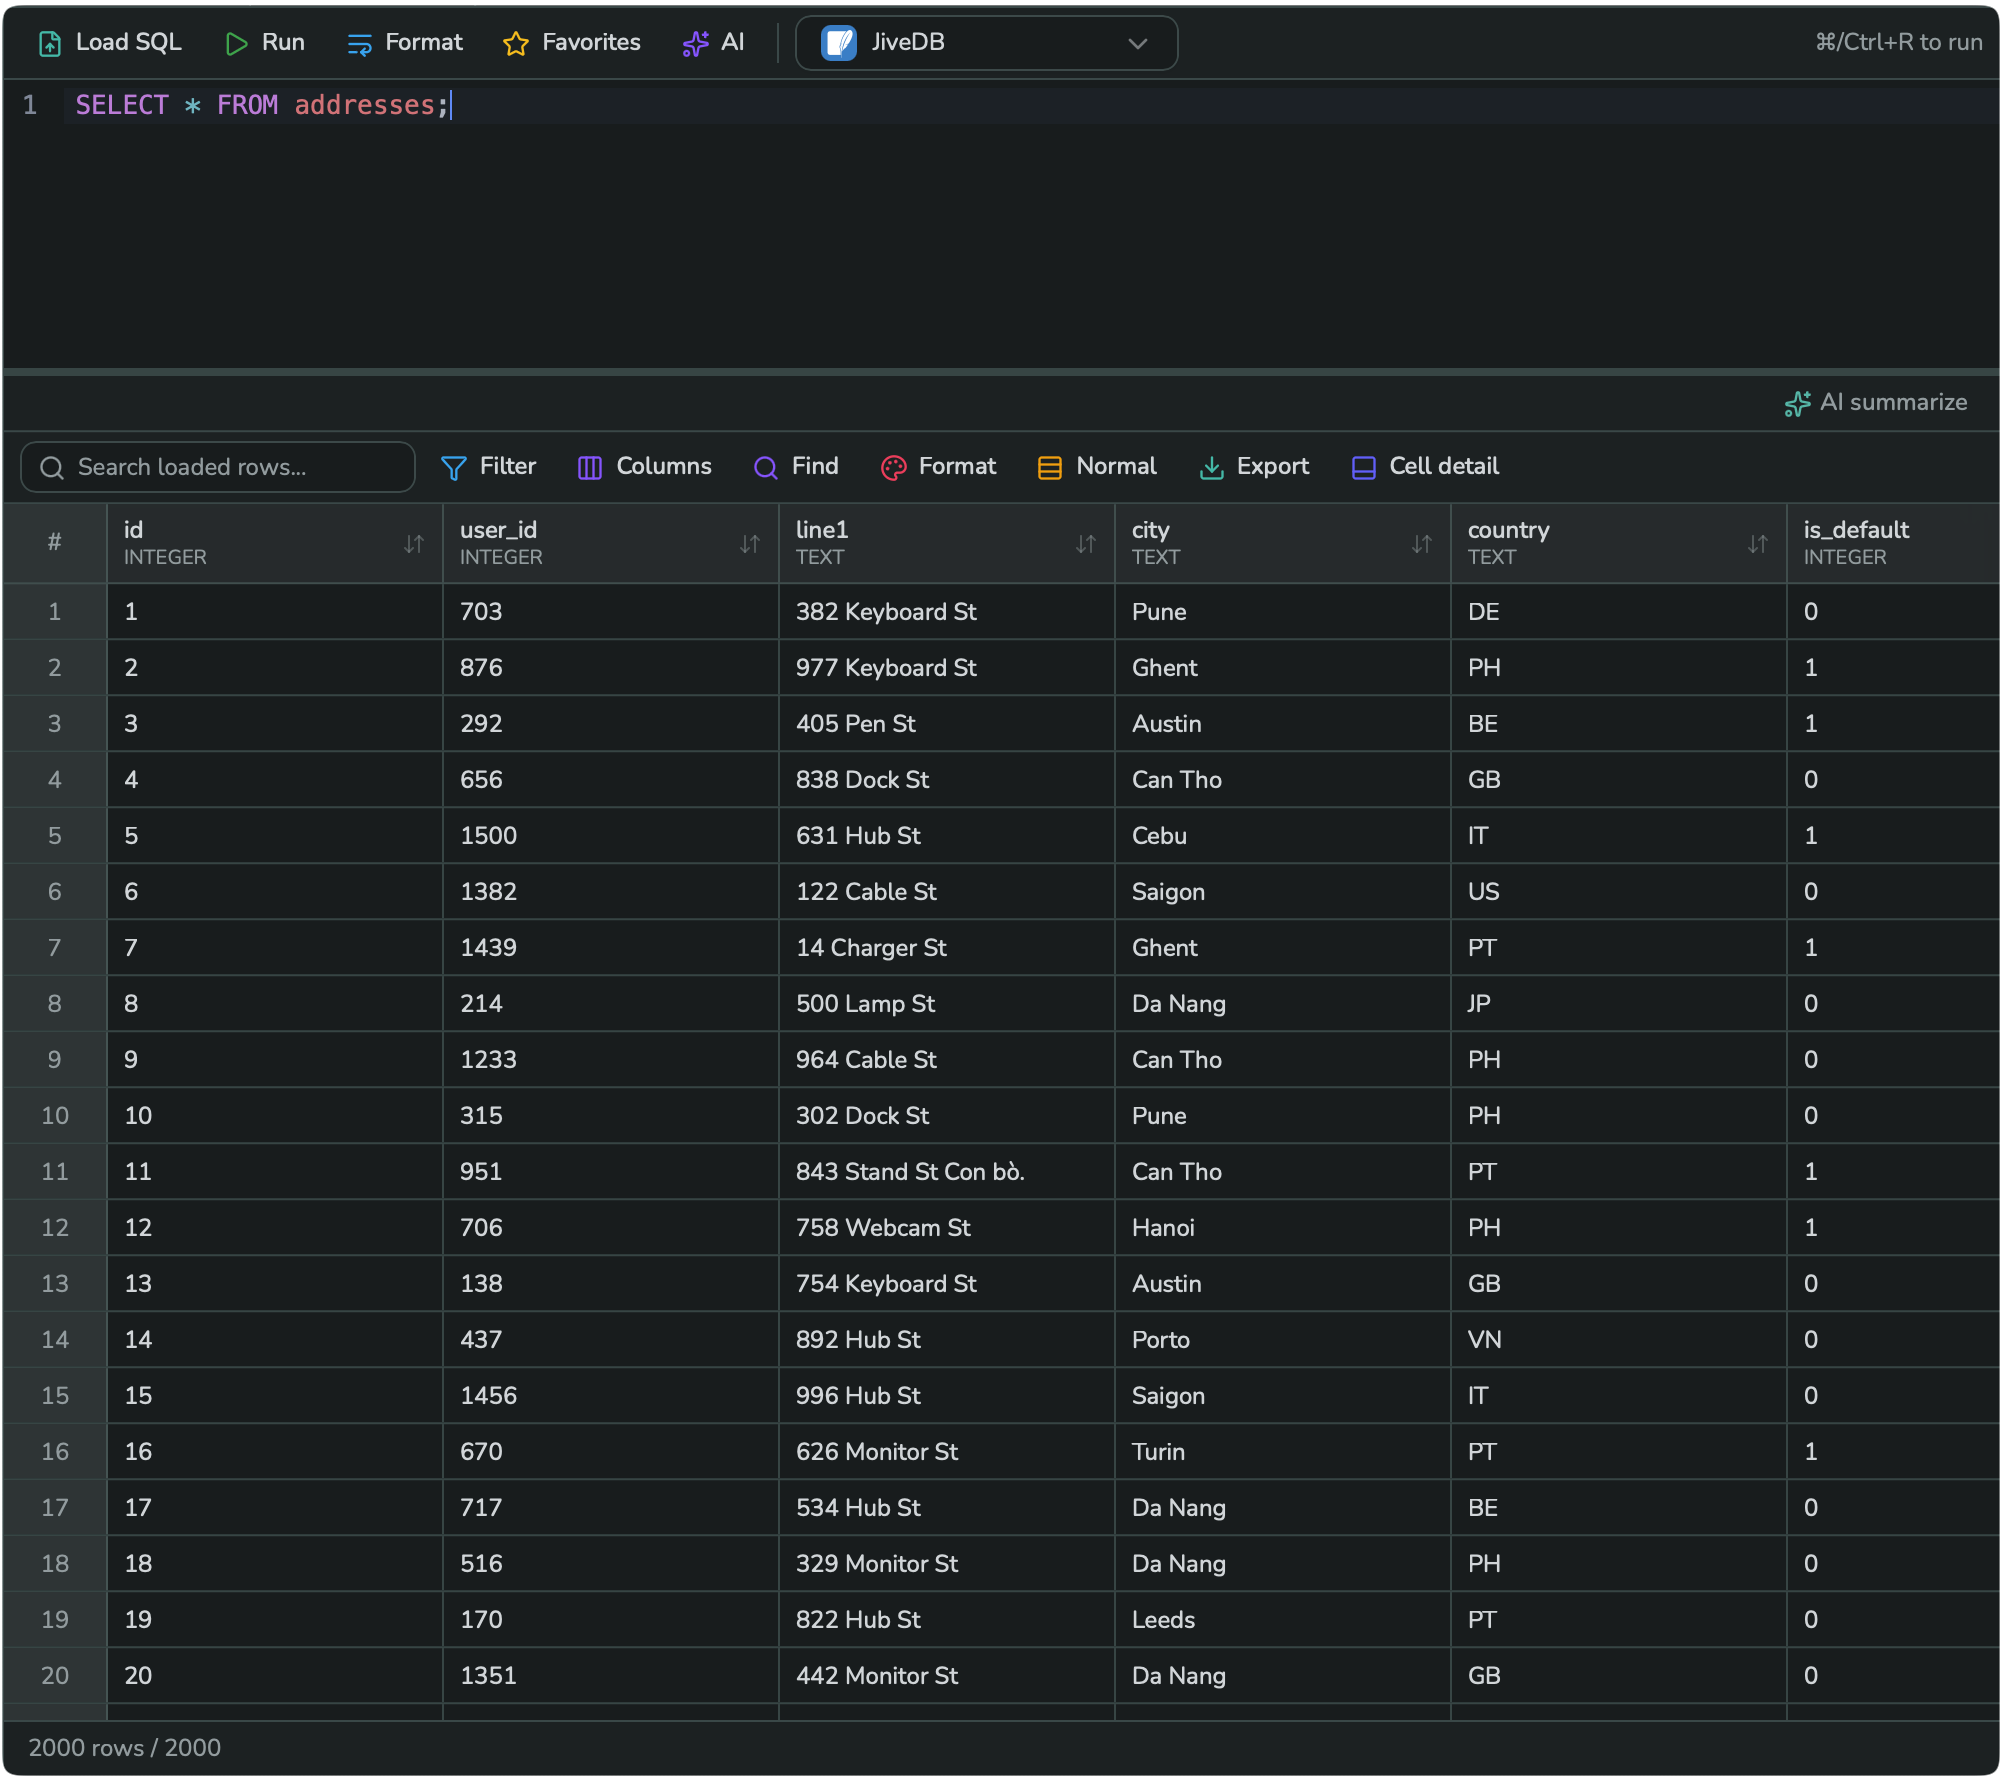
The result grid has its own toolbar (a quick search box, Filter, Columns, Find, Format, a density toggle, Export, and Cell detail) — these work the same way as the full data grid described in Chapter 7.
4. Formatting SQL
Click Format in the editor toolbar (or press Shift+Alt+F) to reformat your whole SQL buffer into a clean, indented layout:
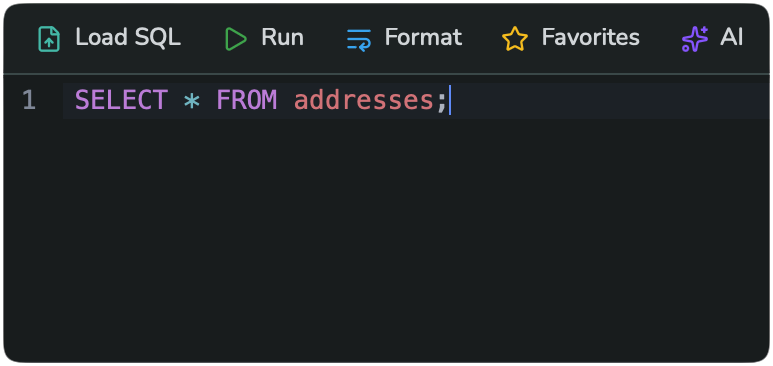
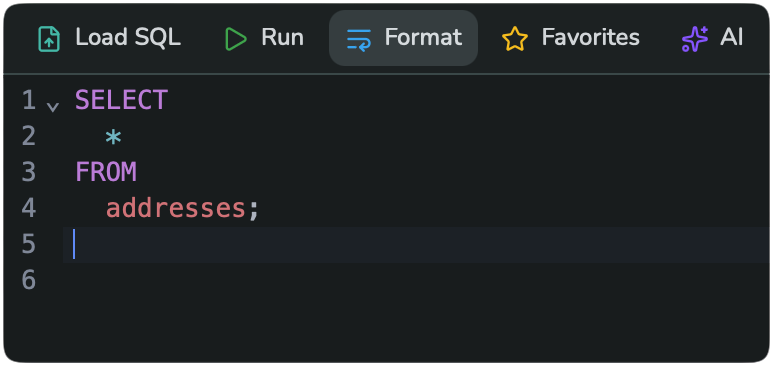
Formatting rewrites the entire editor content, not just the statement under your cursor.
5. Filtering result columns
The result grid's Filter button opens a per-column filter row, with an operator picker for each column:
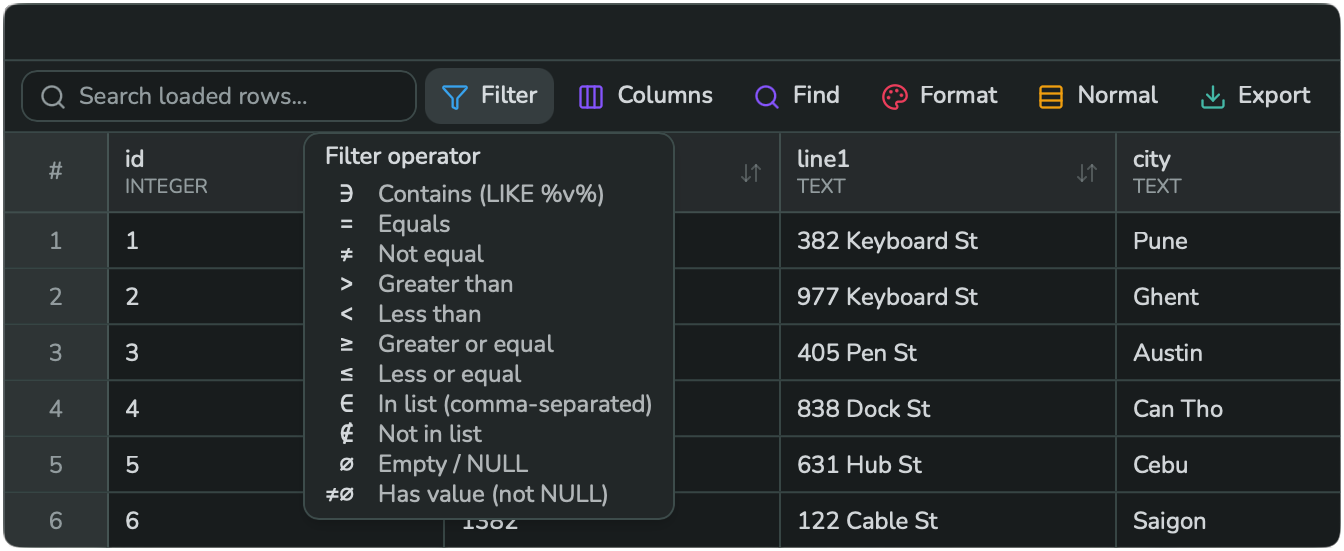
Available operators:
- Contains (
LIKE %value%) - Equals
- Not equal
- Greater than
- Less than
- Greater or equal
- Less or equal
- In list (comma-separated)
- Not in list
- Empty / NULL
- Has value (not NULL)
- Click Filter to reveal a filter box under each column header.
- Type a value into the box for the column you want to filter.
- Click the small operator icon inside that box to change which comparison it uses (default is Contains).
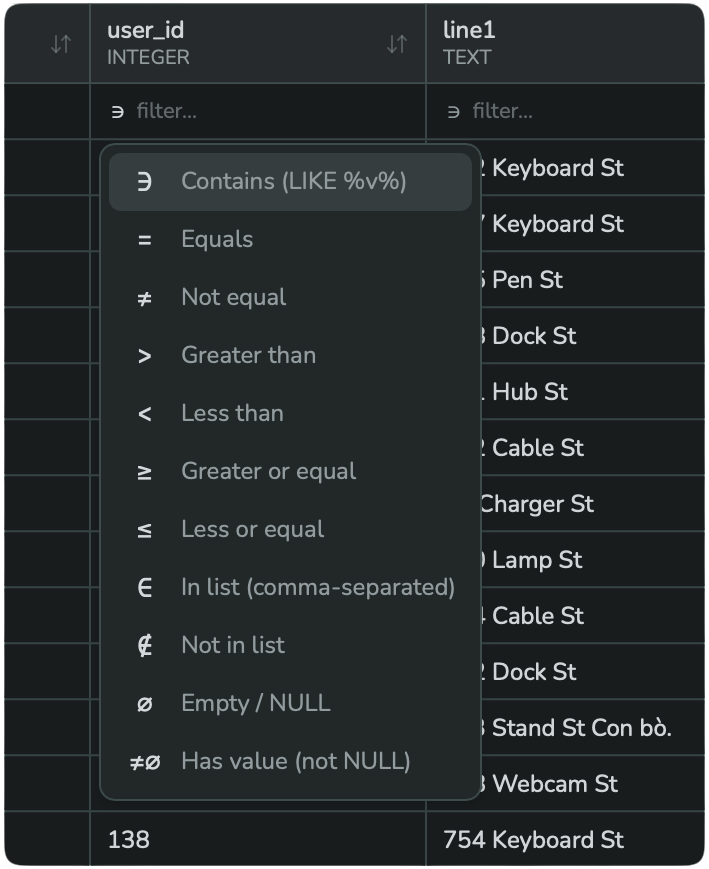
user_id column, with its operator dropdown open.WHERE clause to your query instead.6. Showing and hiding result columns
Click Columns in the result grid toolbar to choose which columns are visible:
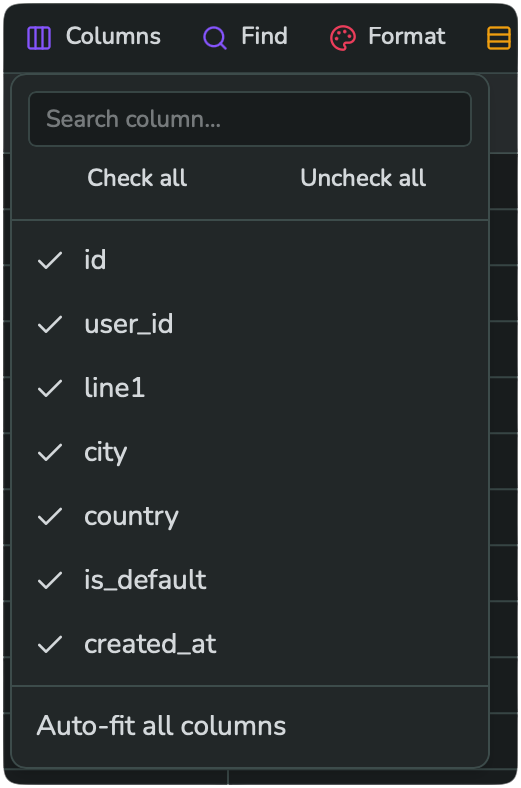
- Type in the Search column... box to find one column quickly.
- Use Check all / Uncheck all to toggle everything at once.
- Use Auto-fit all columns at the bottom to resize every column to fit its content.
7. Favorites and Load SQL
- Load SQL opens a file picker so you can run a
.sqlfile from disk. - Favorites opens a dropdown of your starred queries (statements you marked with a star in the query history). Picking one appends it to the end of your current editor and runs it right away.
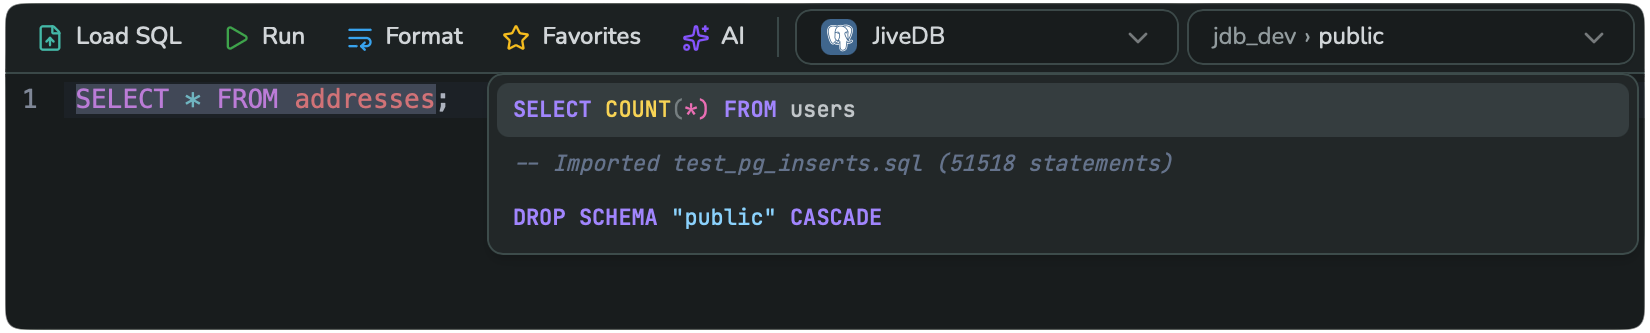
Favorites are explained in full, together with the query history panel, in Chapter 5 — Query history and favorites.