The Structure tab is a per-table designer: unlike the read-only schema explorer, it lets you add and edit columns, indexes, foreign keys, and triggers, and shows a live DDL preview of the change before you save it. This chapter walks through each sub-tab.
1. Opening a table's structure
Right-click a table and choose Edit Structure (see Chapter 3). This opens a new tab named <table> · Structure, with four sub-tabs: Columns, Indexes, Foreign Keys, Triggers. An AI Suggest button is also available, to ask the AI Assistant for structure suggestions (see Chapter 6).
2. Table Structure tabs
The Structure tab has four sub-tabs: Columns, Indexes, Foreign Keys, and Triggers. Click each tab to view and edit different aspects of the table:
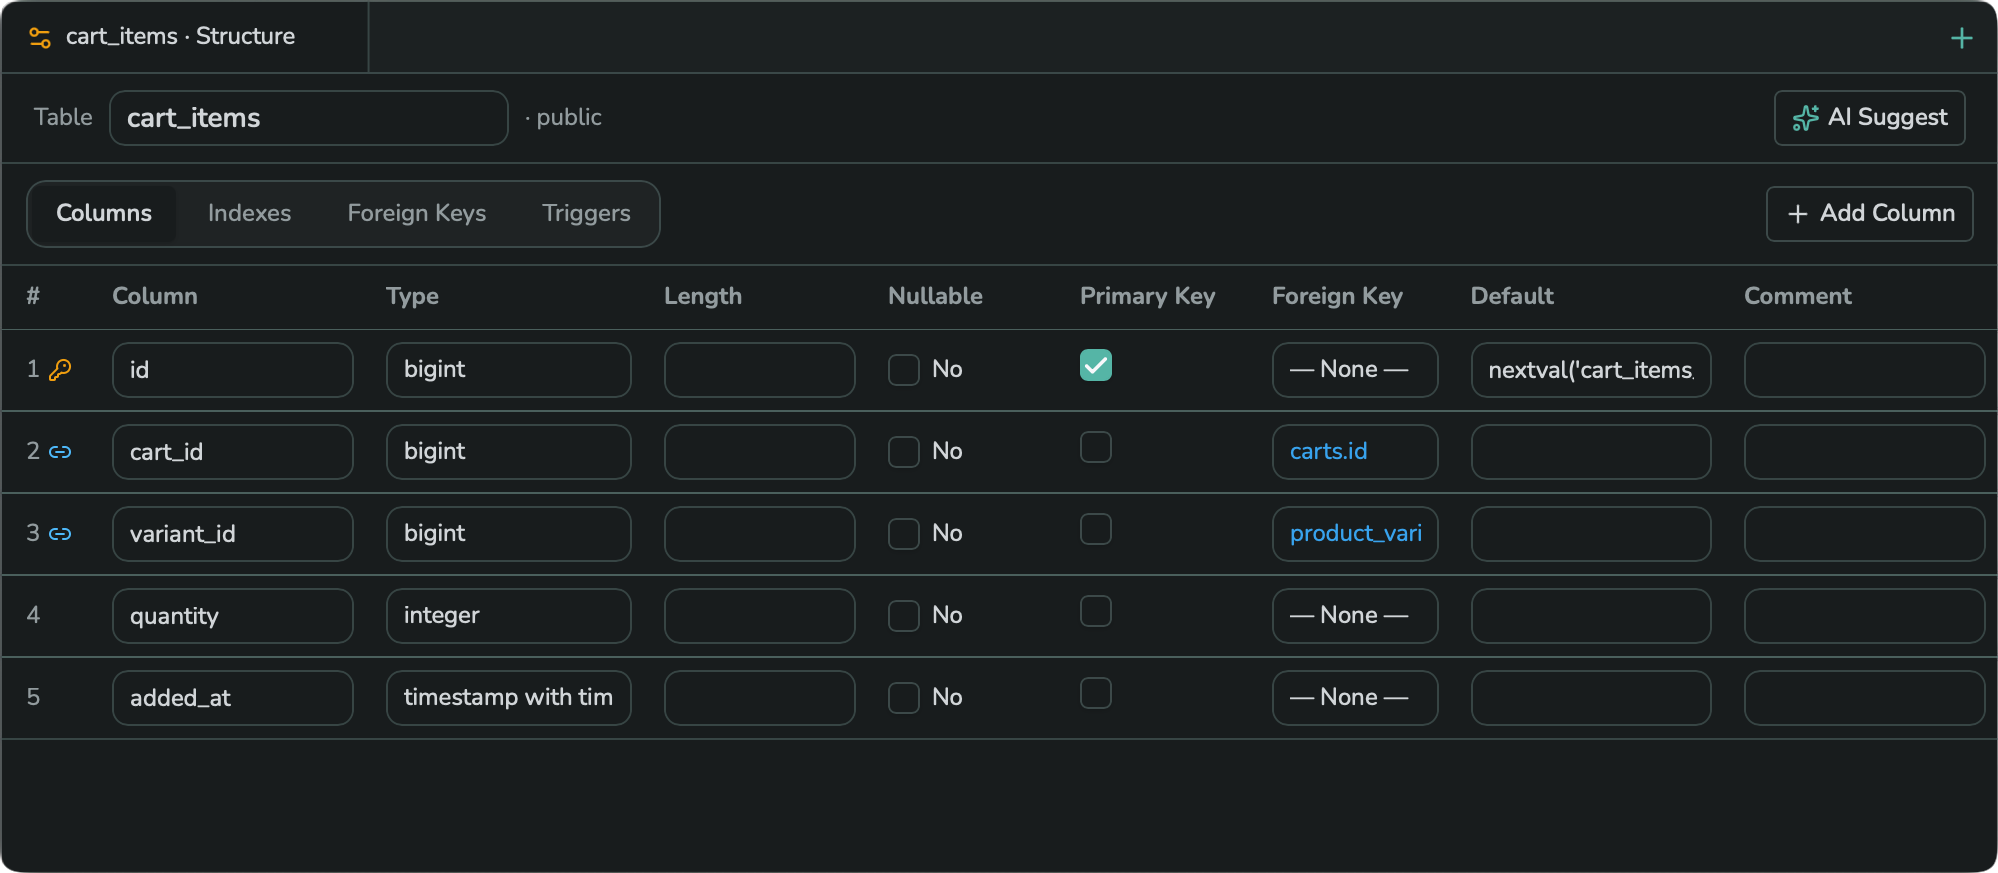
Columns — Each row has: Column name, Type, Length, Nullable, Primary Key (checkbox), Foreign Key (a dropdown of other tables' primary keys, or "— None —"), Default, and Comment. A key icon marks the primary key column; a chain/link icon marks foreign key columns. Click + Add Column to add a new column to the form.
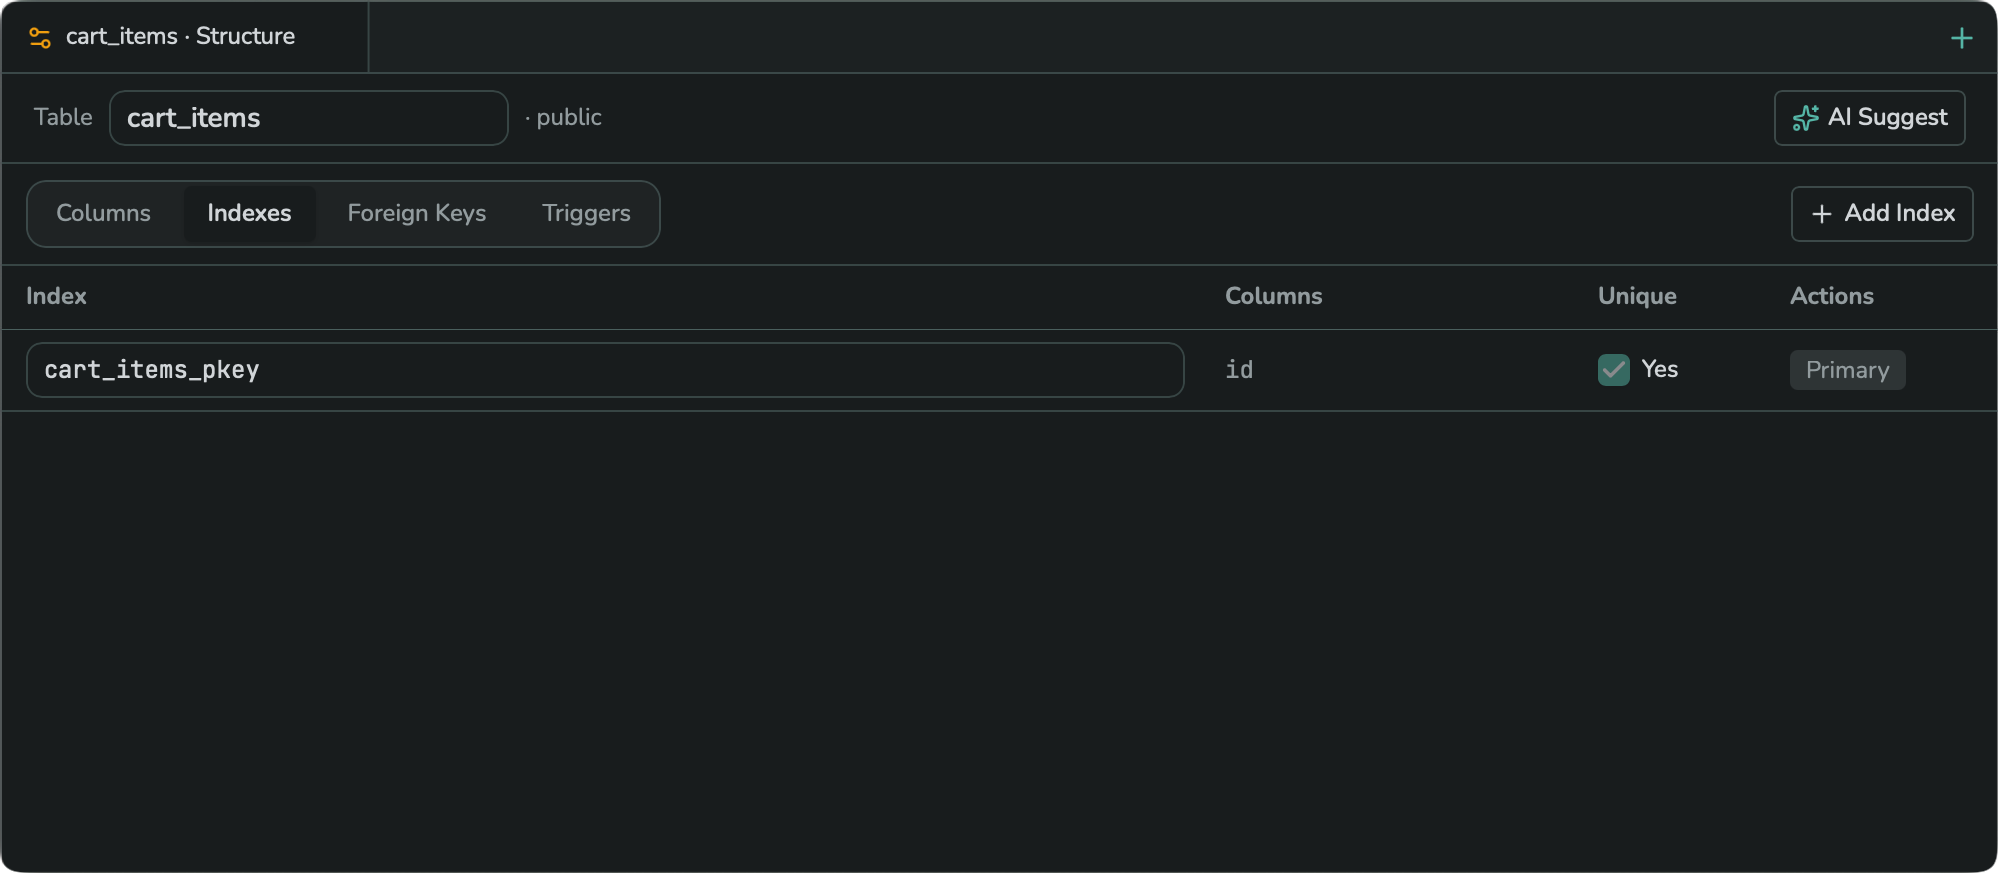
Indexes — Lists secondary indexes. Click + Add Index to define a new index: pick the columns it covers, and whether it should be Unique. The index tied to the table's primary key is always shown, but its name, uniqueness, and drop action are disabled — it is controlled by the Primary Key setting on the Columns tab instead, not edited here directly.
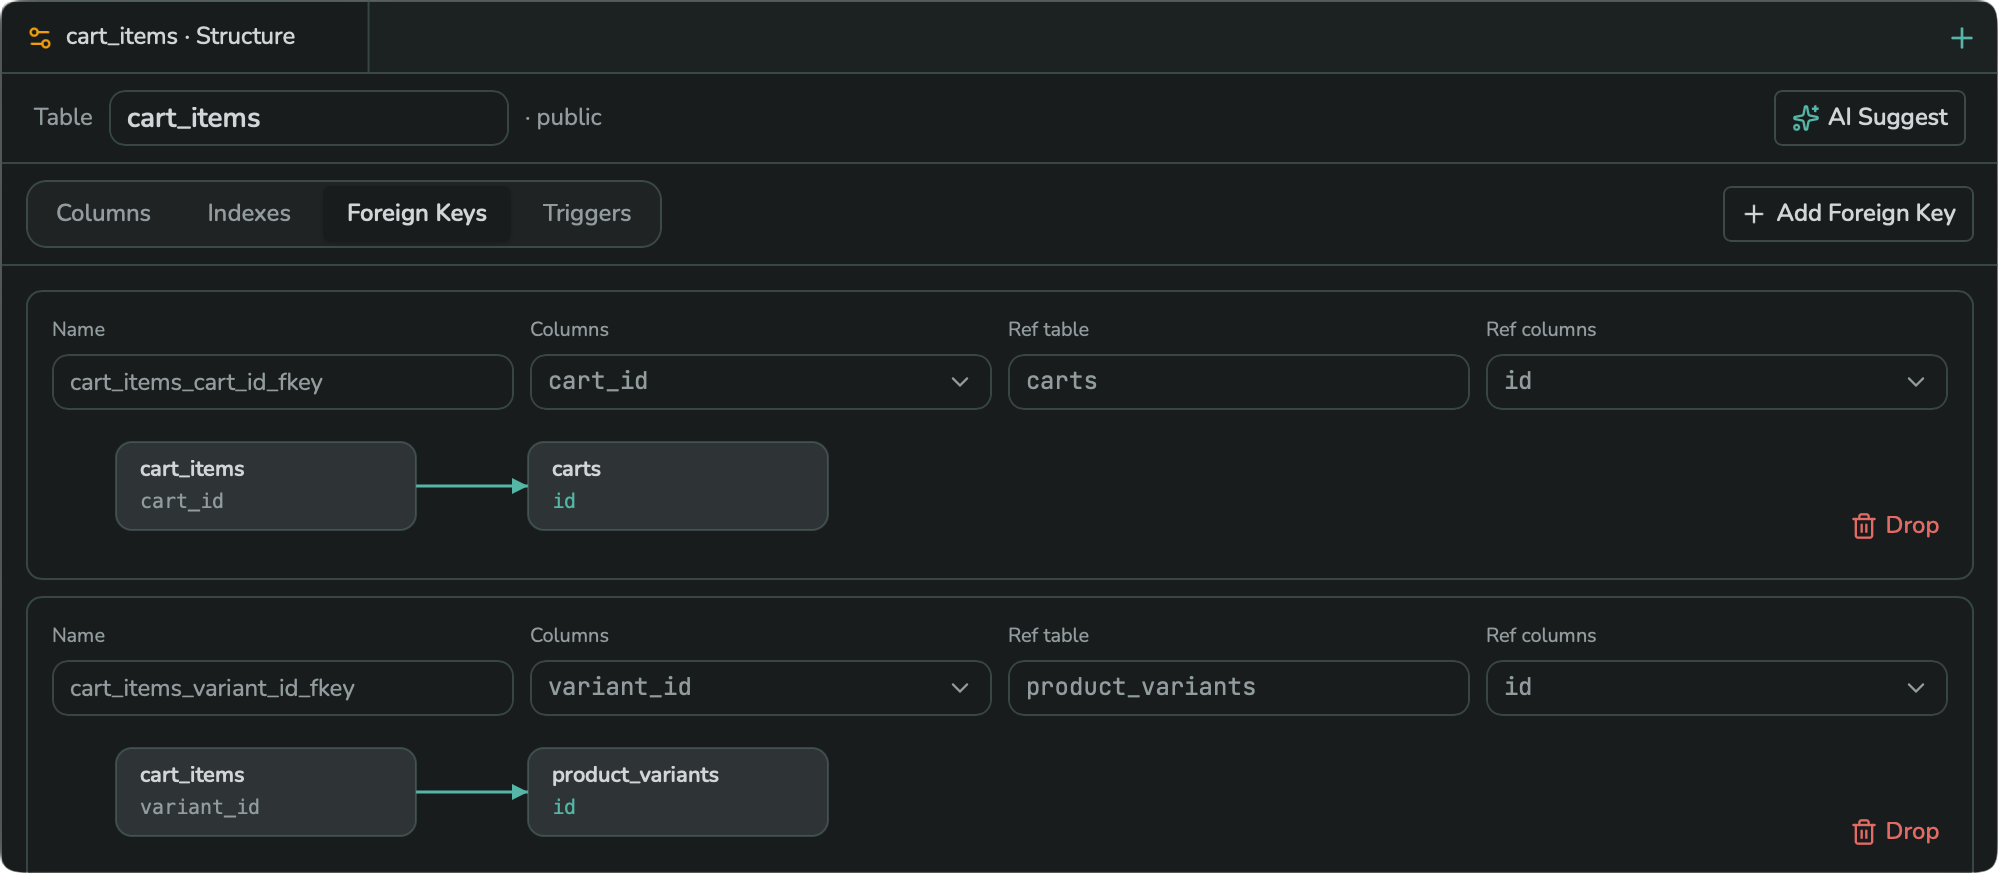
Foreign Keys — Shows one card per foreign key, each with a small relationship diagram. Each card shows: Name (the constraint name), Columns (on this table), Ref table, and Ref columns (on the referenced table) — plus a small diagram of this_table.column → ref_table.column. Click Drop on a card to remove that foreign key, or + Add Foreign Key to define a new one.
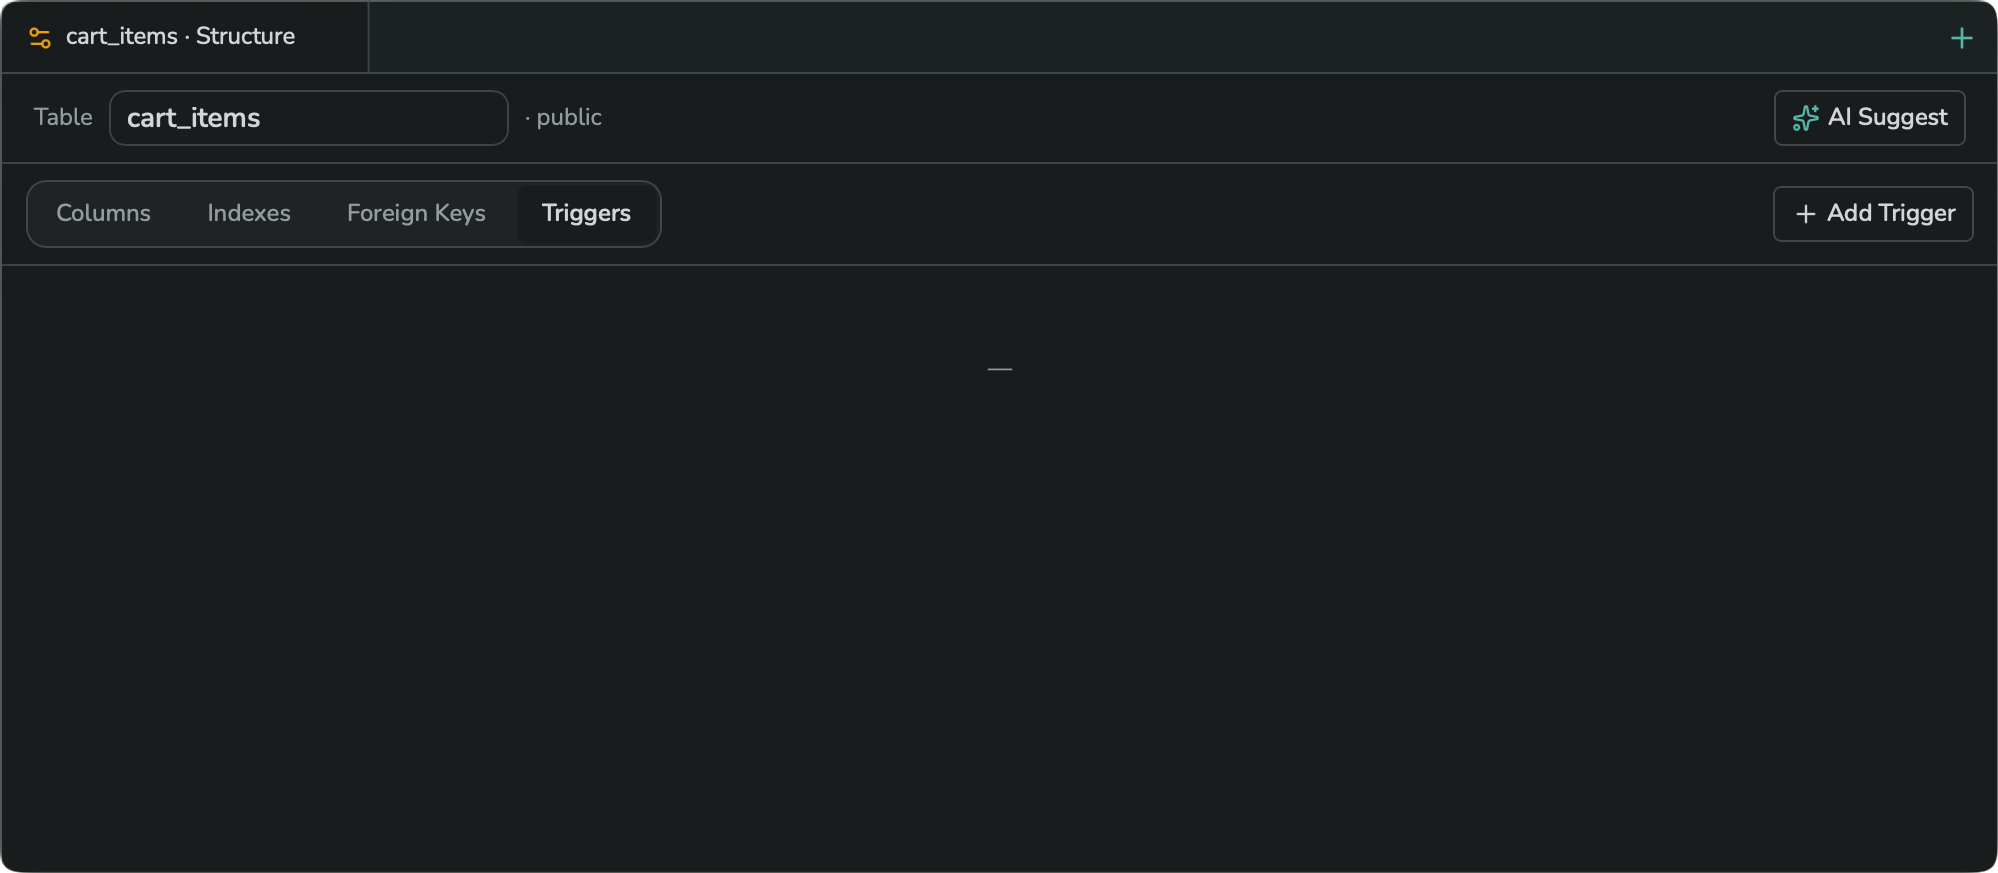
Triggers — Lists triggers defined on the table. If there are none yet, it shows an empty placeholder. Click + Add Trigger to define one — its exact fields depend on your database type (for example, PostgreSQL asks for a trigger function, while MySQL asks for a raw SQL body), along with its name, timing, and event.
6. Saving your changes
Every change you make across these four sub-tabs is collected into one live DDL Preview at the bottom of the Columns sub-tab. Click Copy DDL at any time to copy the pending SQL statements without running them.
When you are ready, click Save. JiveDB will confirm how many DDL statements are about to run and warn you that the action cannot be undone. Click Discard instead to throw away your changes and leave the table as it was.